Building a Simple Rect or Hex Grid
This tutorial explains how to build a simple rect or hex grid in the editor.
Rect Grid
1Make a new empty game object in your scene, and add the TileGridBuilder component to it. This can be found under Component/Scripts/Gamelogic.Grids2/TileGridBuilder or directly in the script folder. 2Set the component up for a rect grid:
- Set the grid type to Grid2 (because it is a 2D grid).
- Set the round type to Rect.

Setup your shape. To make a grid in a rectangular shape, add Parallelogram node, and fill in the grid dimensions. It’s a parallelogram aligned to the axes and it works for both rect and hex grids. Axis aligned parallelograms are of course rectangles. To show the result of this node should be used, add a Output node, and add a link from the Parallelogram node to the Output node.
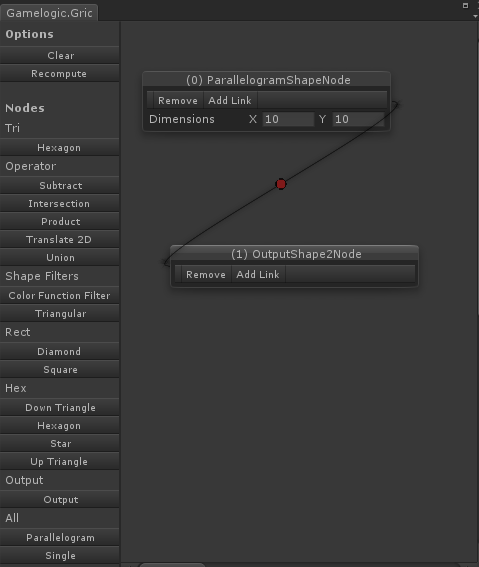
Close the graph editor, and drag the graph from your project into the Shape Graph field on the grid builder.
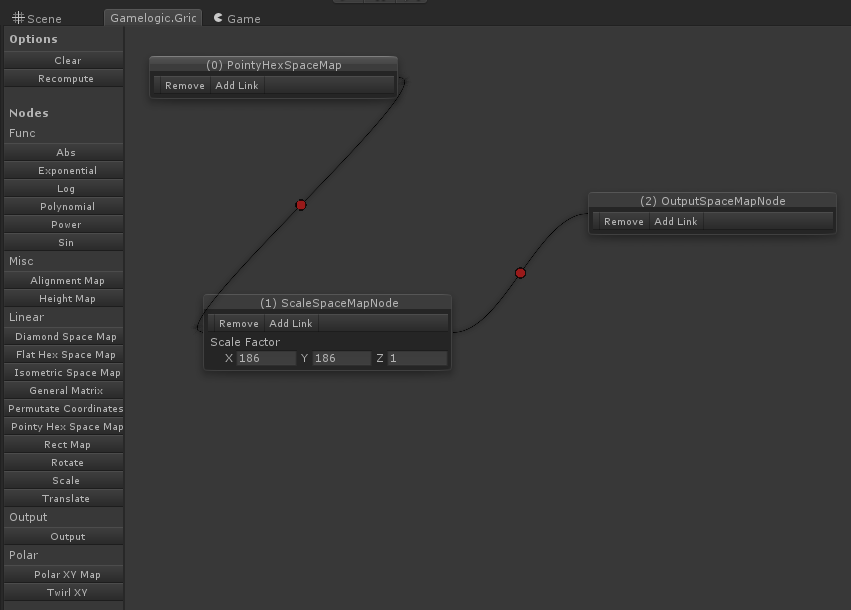
4Make a new space map graph (all grids use the same map graphs). These maps are always some transformation of 3D space. In this case, all we want is a scale factor. (By default, cells are always 1×1 for 2D grids). You can make a new map graph from the Assets menu or by right-clicking, and select Create | Grids | SpaceMapGraph. Select the graph in your project, and hit the Edit button.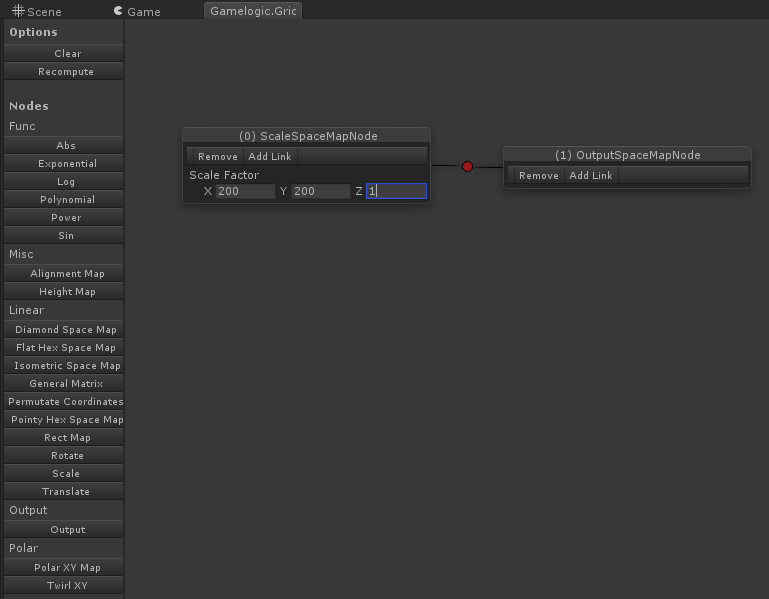
Add a new Scale node, and set the dimensions to those of your cell. In this case we will use the SquareCell prefab that ships with Grids. It has dimensions 200×200, so we set the scale to 200, 200, 1. To show that the result of this node will be used for the map for our grid builder, add a Output node, and link the Scale node to the Output node.
Close the graph editor, and drag the graph from your project into the Space Map graph field on the grid builder.
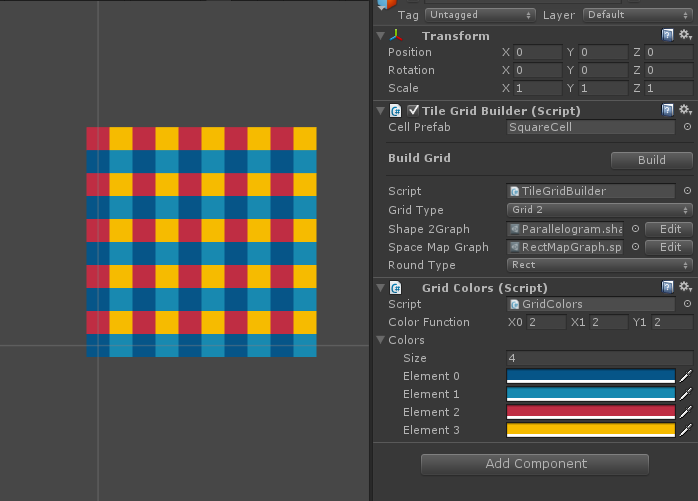
5Locate the cell prefab located at Grids 2/Examples/SharedResources/Prefabs and drag it into the Cell Prefab field. 6Click Build. The grid should now be in your scene. You should now see the grid in the scene, all white.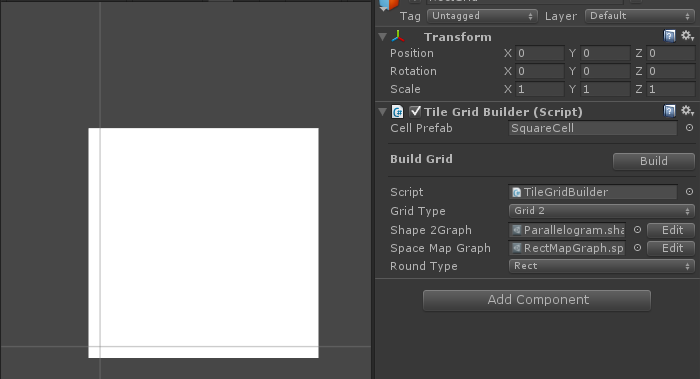
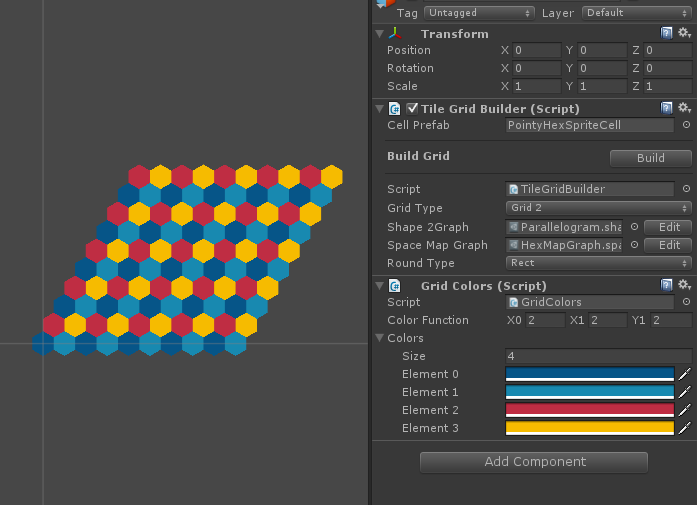
You can see individual cells better if you color them using a grid coloring. To do this, add the GridColor component on the grid builder. Fill in color settings (use 2, 2, 2 with 4 colors).
Your grid should now appear like this:
Hex Grid
To build a hex grid, you need to follow the same steps as above, with the following changes:
- In Step 2, choose Hex for the rounding option.
- In Step 4, you need to add a Pointy Hex Space Map node and link it to the scale map node. You will also need to adjust the cell dimensions to those of the cell you use.
- In step 5, choose a hex cell prefab instead of a square.
Your grid should look like this: